Furnishing your new home is a huge commitment both mentally and financially. Growing up, my Persian parents had impeccable taste in furniture. Each piece was part of a bigger and more complex picture they painted. That small bench with Baroque detail and gold trim had its purpose in the corner. It was all so cohesive and I was always impressed by my mother’s vision. When I moved into my apartment in downtown Tallahassee, I decided that I wanted to start fresh. I wasn’t going to rush and buy a living room and bedroom set from a local furniture store. I was going to take my time and pick out items that expressed my personality- For everything to have a meaning and purpose in my home. Even if that meant going without some for a while. I remember moving in those first few nights and utilizing a blowup mattress. I had a couch before I even purchased a bed! It was worth the wait.
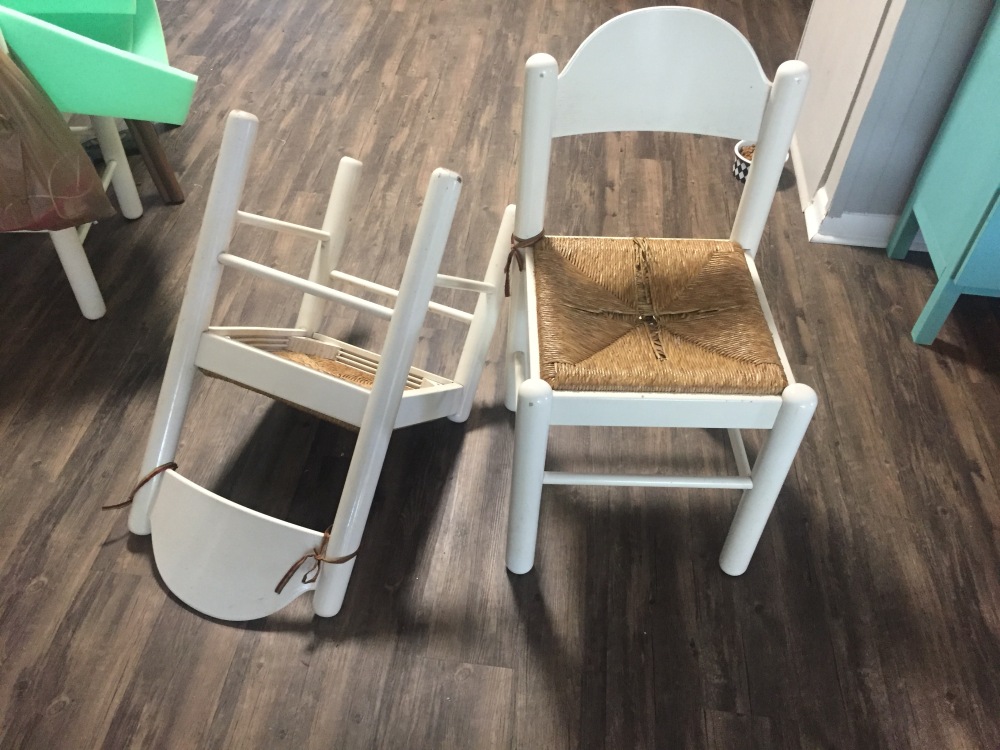
Not only did this mean I could go thrift store shopping and garage sale-ing; but, I also knew this was my chance to get into some DIY projects. My favorite project to date was the transformation of my kitchen chairs. They came courtesy of my parents and I spent my whole life sitting at our breakfast nook in them. They had wear and tear and my parent were planning on tossing them. They were a very simple style: a white, glossy, wood look and perfect to revamp. I had to have them.

Because my walls were gray and my floors were a rustic unfinished wood, I wanted to add some color in my furniture. I always loved the color palette that retro kitchens offered. You don’t see it much nowadays, but they had SO MUCH COLOR and personality! All those bright pinks, greens, turquoise, etc. I decided on a sea-foam/jade color in a semi-gloss finish. Since the chairs were already a glossy finish, I figured semi-gloss as opposed to a matte finish would be easy to paint over them. I wanted to pick something that would go with a vibrant pattern for the cushion.
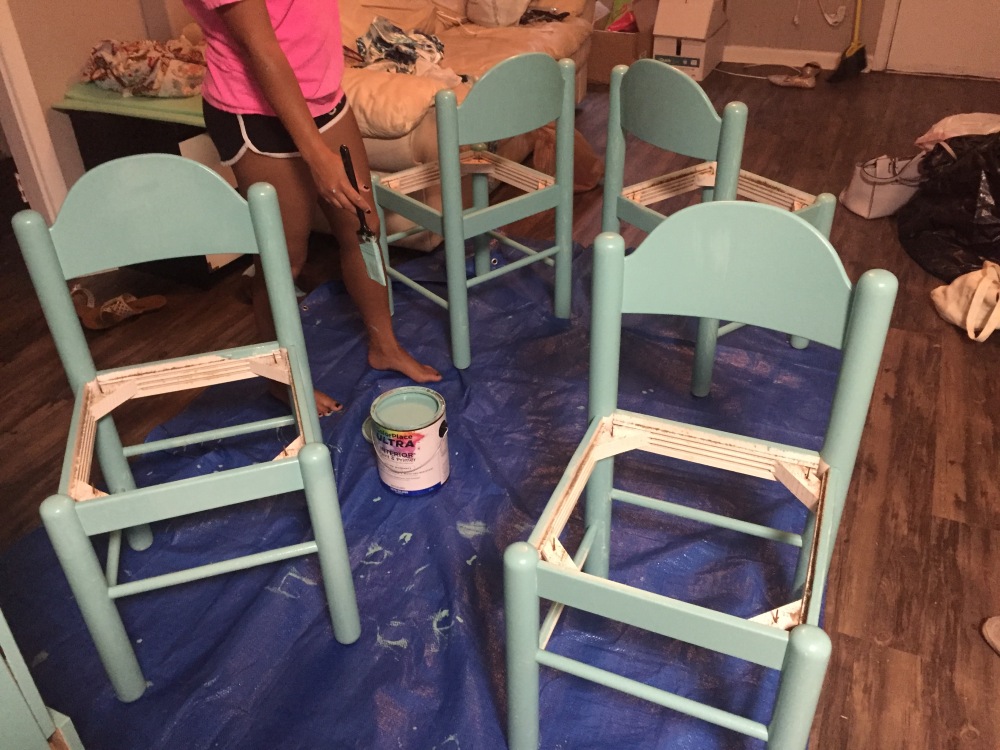
I started by removing the woven base in the center and painting the chairs themselves. I made this a fun project for me and my friend Brie to do on wine night. It took about three coats (and three bottles of wine) to be even and create the right finish. By removing the center, I eliminated spilling any paint on the new cushions. (Accident-prone broad, over here.)

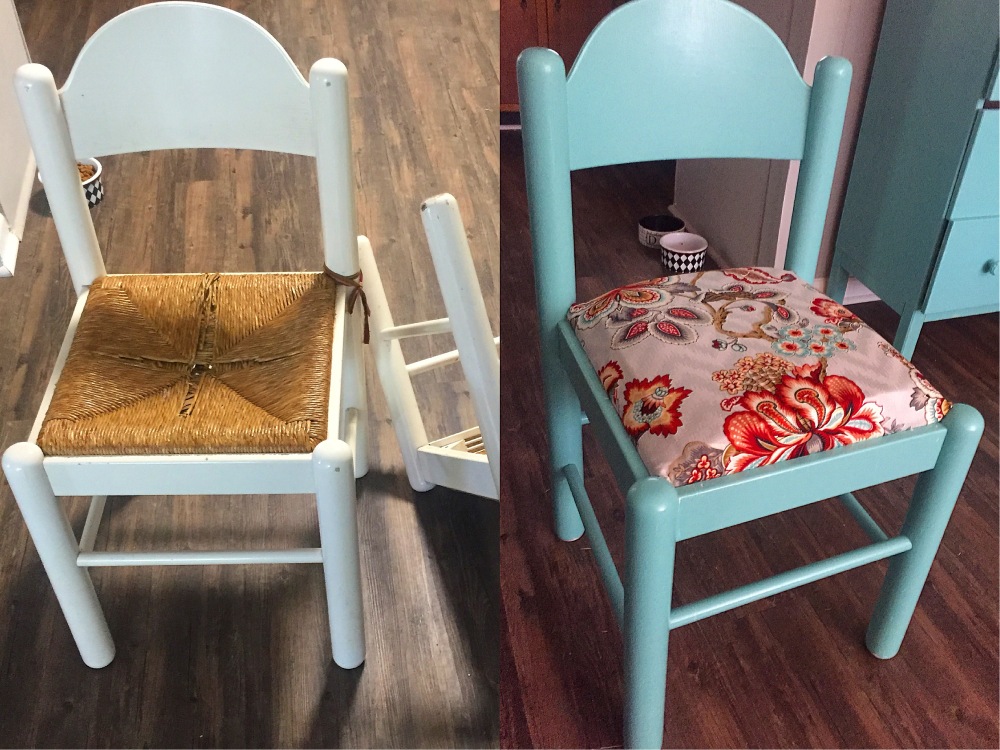
Picking the fabric for the cushions was a little more challenging than expected. I wanted something that incorporated colors that not only matched the chairs but other elements in the house. The fabric HAD to be spectacular to measure up to the new, bright color of the wood. Me and my mom looked through hundreds of fabrics and finally decided on a floral pattern with hints of burnt orange, creams, and reds. It also had a light grey base which meshed well with my grey walls.
I luckily had a nice base for the chairs that I could plush up with some foam and make more comfortable for sitting. I purchased about a yard and a half of memory foam and the fabric from Joann Fabrics. I was pretty surprised that was all I needed! To assemble: I measured and cut a square of foam to put on the base, cut the fabric just enough to wrap around tightly and stapled it on the bottom of the base. My Papi helped chisel the new, covered base into its original spot and WALA! The ending result was absolutely gorgeous and WAY more comfortable.

I was so thrilled with the ending result and it added so much character to my new place. Being able to take something from my childhood and transform it to match my adulthood was so special to me. Not to mention, I didn’t need a ton of supplies to do it! This project cost me $60 in total and was way more affordable than buying a set of dining room chairs from somewhere.
My advice for newbies furnishing your home: take your time, be thrifty, and find the diamond in the rough. A simple chest of drawers can be transformed to so much more! Find what speaks to you and make it fun. If you are able to visit some thrift stores or second hand furniture stores, you can find some great deals. Turn a piece of furniture you like into a custom piece you LOVE.
xoxo B
Those look great; I’m inspired! I just repainted our kitchen table and am working on the chairs next.
LikeLike
Let me know if you, Mo, and Mia need any help 😉
LikeLike